Building a lefthanded Mosrite clone

Tokai Forum

Help Support Tokai Forum:

This site may earn a commission from merchant affiliate links, including eBay, Amazon, and others.
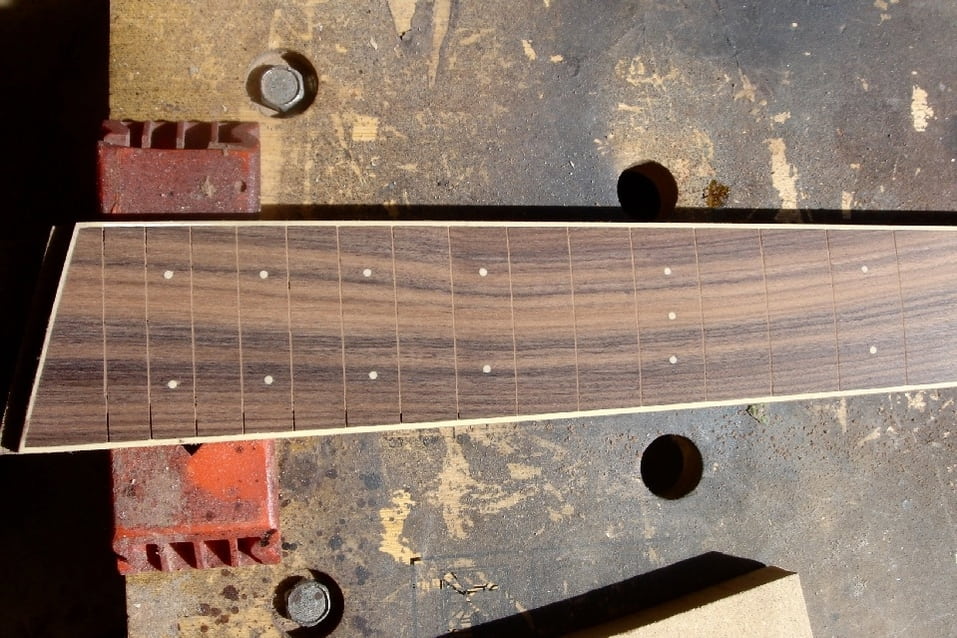
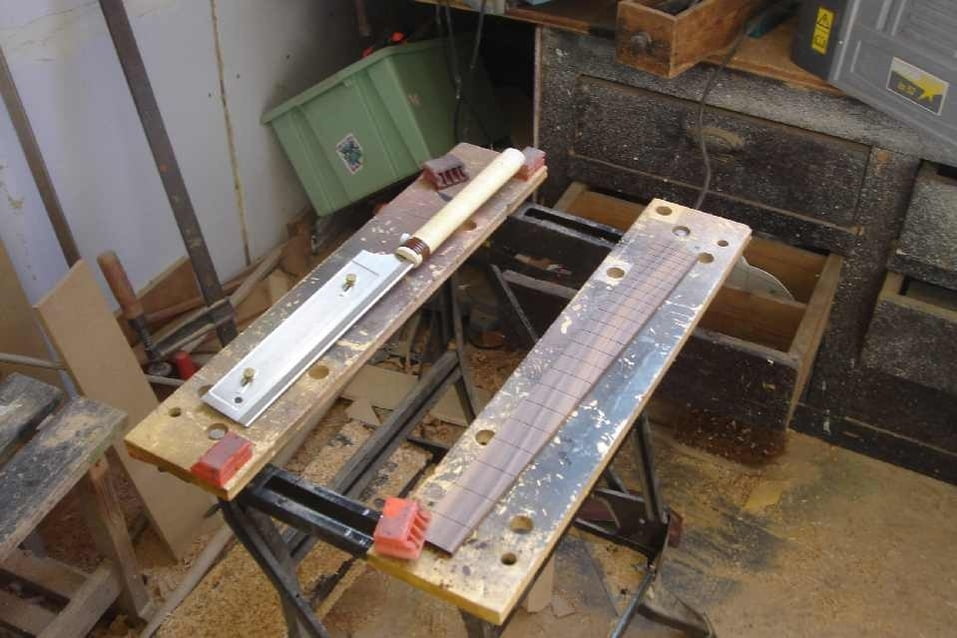
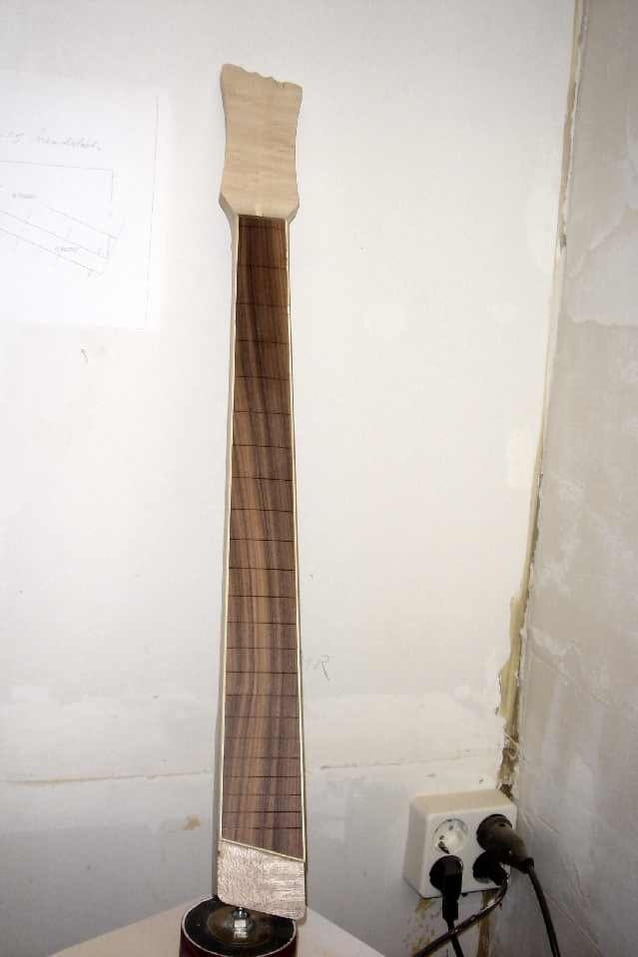
I slotted and radius'd the board:
GroteFoto-C7VZHYJ4.jpg

This fretboard will be bound so I have to be sure all the sots are deep enough:
GroteFoto-6BWCVI3Z.jpg

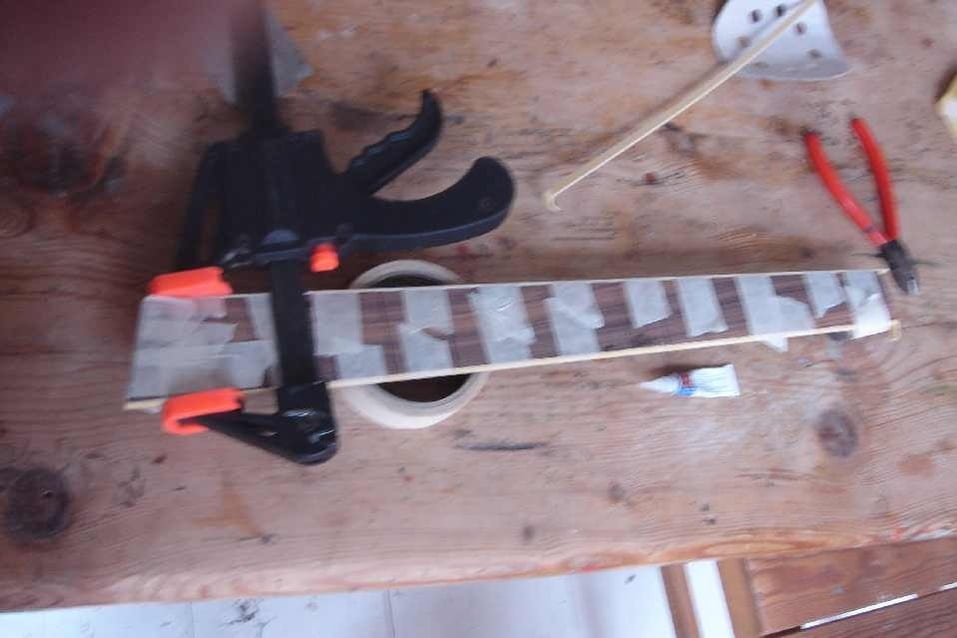
Binding is on, sorry for the blurry pics
GroteFoto-O3HBTKIH.jpg

Maybe my lens is a bit dusty :-?
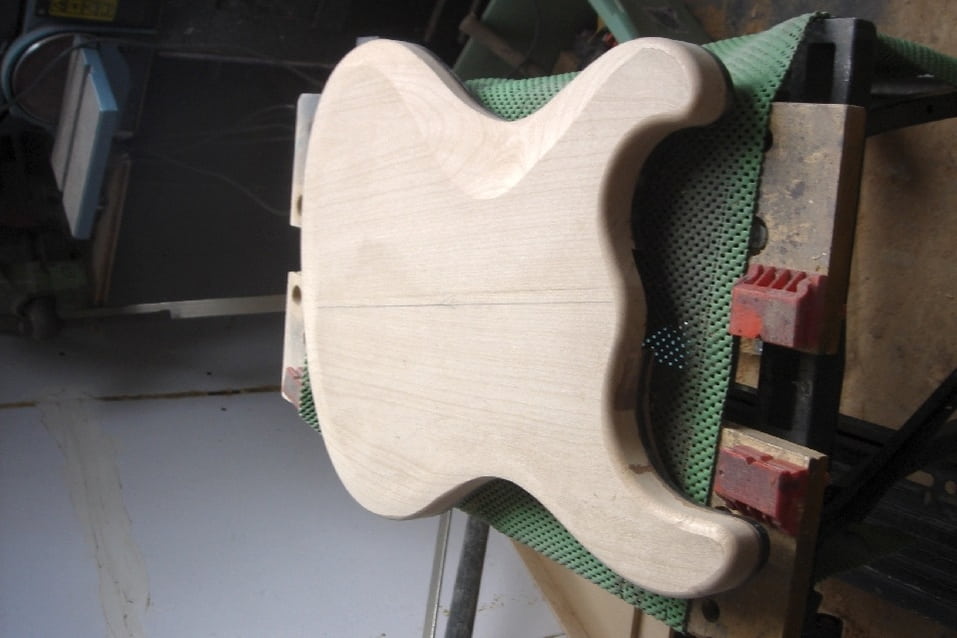
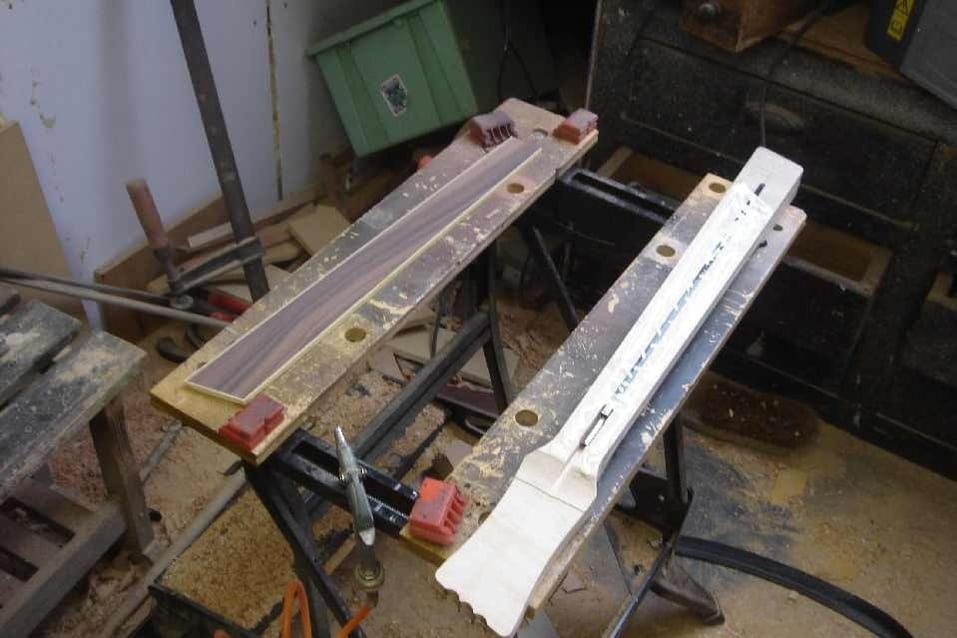
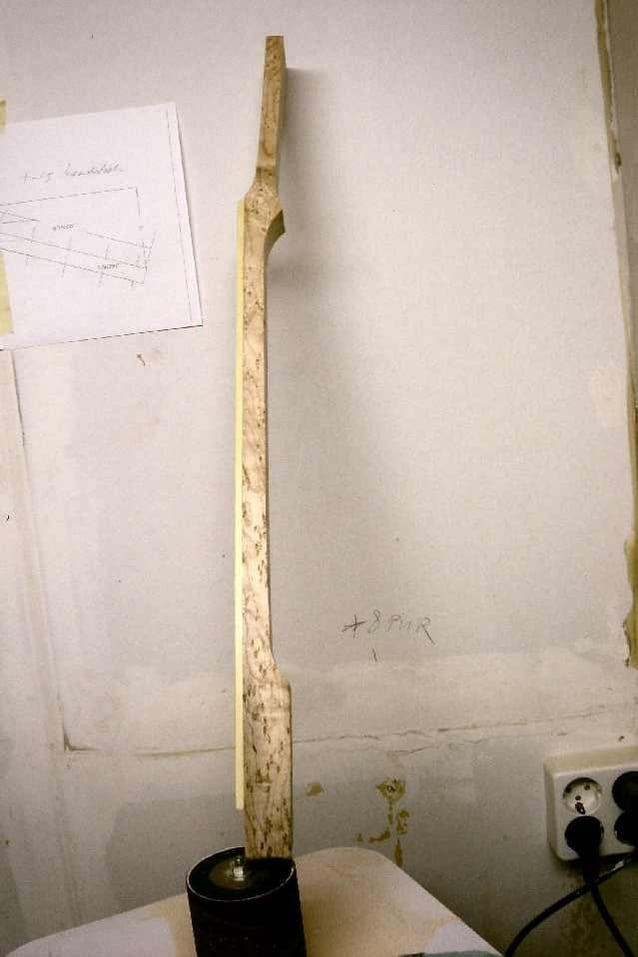
Cleaned and lightly sanded the back of the fingerboard and the neck so the gluejoint is hardly visible.:
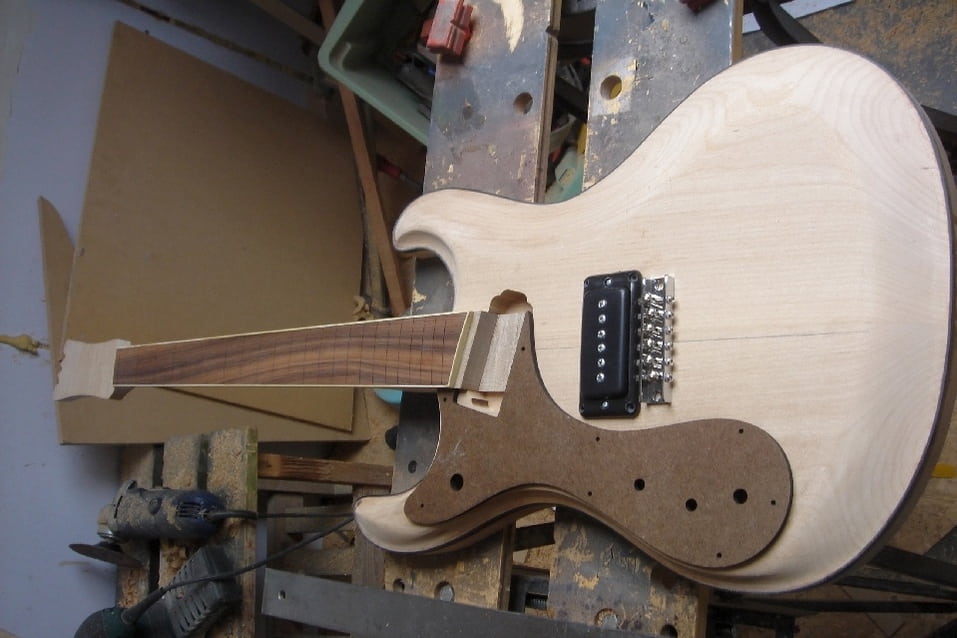
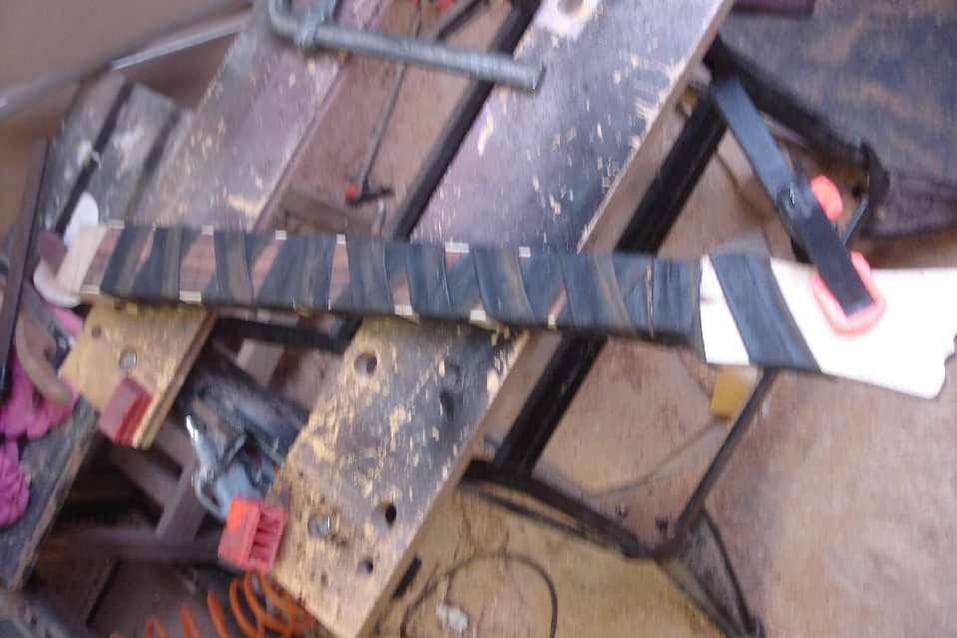
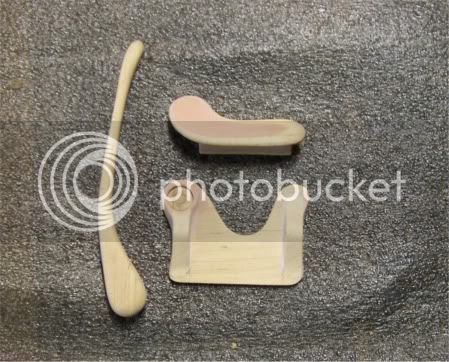
GroteFoto-XY6M3T3D.jpg

OMG here is a job :
bicycle-repairman3.jpg

Using an inner bicycle tyre is the way to go with an already bound fingerboard. It will be aligned automatically and gives enough pressure for a tight joint.
GroteFoto-XKTWBIDD.jpg

(have to fix that @#$$% camera)
 
Are you sitting down?
Anyone with a heart condition please have your physician check out these pics before you view them.


I'll give it a little time so you can brace yourself.
 
JuniorEnthousiast said:
Are you sitting down?
Anyone with a heart condition please have your physician check out these pics before you view them.


I'll give it a little time so you can brace yourself.


invisible photos; my favorite kind :lol: .......................
 
oigun said:
Thanks guys for the compliments.
Here a pic of the shaped neck:
GroteFoto-C84ZIOSV.jpg
[edit by Junior; waiting for parts like bridge and pups to arrive before work can continue, Oigun is keeping himself busy by building a telecaster on TDPRI]
 
Just received a picture of the handcarved mold M3*California are doing for my lefty vibrato tailpiece. They ran into some trouble with the first mold and decided on a do-over. Turns out the second came out better! This will go to the machinist guy and hopefully will be cast sometime next week.
LeftyVibrato2.jpg
 
JuniorEnthousiast said:
Just received a picture of the handcarved mold M3*California are doing for my lefty vibrato tailpiece. They ran into some trouble with the first mold and decided on a do-over. Turns out the second came out better! This will go to the machinist guy and hopefully will be cast sometime next week.
LeftyVibrato2.jpg

Are those wood forms? Very nice work if they are
 
marcus: these are handcarved wood forms. The first set had something wrong apparently. From these a mold will be made. There is some filler involved, yes. Not sure what 'plugs' means?
 
JuniorEnthousiast said:
marcus: these are handcarved wood forms. The first set had something wrong apparently. From these a mold will be made. There is some filler involved, yes. Not sure what 'plugs' means?

so they are plugs :wink:

a plug is an exact replica of the finished part, and is used to form the mold, in many manufacturing processes.

in the manufacture of fiberglass boats, to make a proper deck, or hull mold you first have to have a plug

it's a not so simple process;
1. construct a plug
2. fabricate a mold directly on the plug; once the mold is 'cured' then pop it off the plug.
Check the mold for any defects & repair.
The mold is now ready to make parts.
3. lay up the gel coat (paint), resin, glass mat, wooden parts, etc., & fabricate the deck, or the hull in your new mold.
Once the part has 'cured', pop out the new deck, or hull and you're on your way to making a new boat :)

I have worked with fiberglass molds & stainless steel injection molding molds, which are completely different materials but they do have a commonality.
Molds are 'female' & plugs are 'male'.

The wooden parts in your photo are 'male' so, that's why I thought they were plugs, and not molds :wink: .......................
 
Today the mailman delivered a rollerbridge;

Foto0087-1.jpg

nothing fancy

also delivered my M3*California RH100 pickups;

Foto0088-1.jpg

YEAH BABY!

building may continue now!
Everybody please keep your fingers crossed for the vibrato to arrive soon!
 
So now the hussle of the contest (tdpri) is over I did a little work on the Mo:
neckpocket & PU cavities routed:
GroteFoto-X7ED3YRK.jpg

Measure once cut twice :lol:
GroteFoto-3BJQGZMO.jpg

A little mock-up
GroteFoto-GJ6ZLPR7.jpg

Drilled,glued the positionmarkers.
GroteFoto-ZF3DJUT3.jpg

Sanded the back contour this pic is from half way I forgot to take a picture when I was ready.
GroteFoto-O3ENH8I6.jpg

Also fretted the neck It was a busy day...Pics later.
 

Latest posts

Back
Top