'Building' a Danelectro 58 DC

Tokai Forum

Help Support Tokai Forum:

This site may earn a commission from merchant affiliate links, including eBay, Amazon, and others.

JuniorEnthousiast

Well-known member
Joined
Dec 26, 2008
Messages
316
Reaction score
0
Location
?cker?'s loge
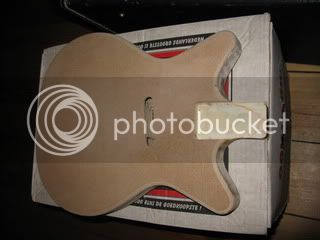
I have long since wanted a Danelectro guitar and especially a DC. I just think they sound so cool. The Made In China reissues don't exactly tickle me though and being a lefty there aren't many old stock DCs to be had.
Oigun, my luthier buddy, told me to get a cheap righty from the interwebz that we'd rip the top off to make room for a lefty-fied top.
I'm an impatient SOB and in the last year every Dano I came across on the eBay either went for more than I was willing to spend or was a MiC.
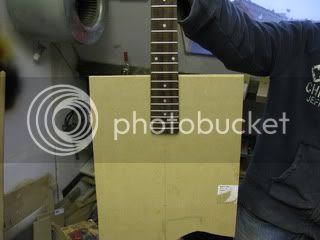
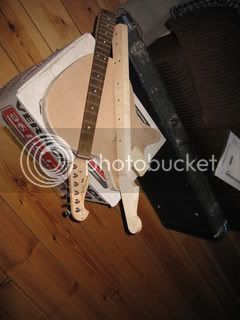
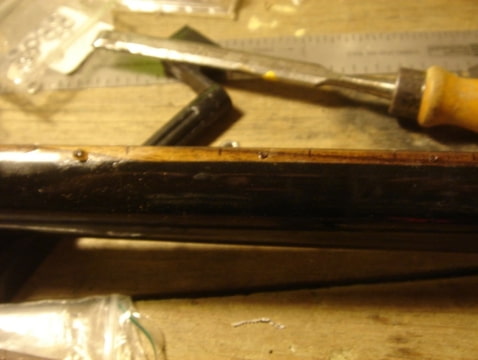
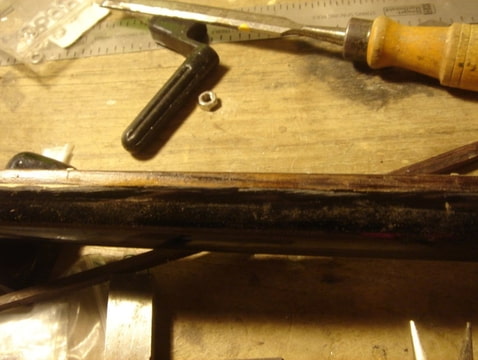
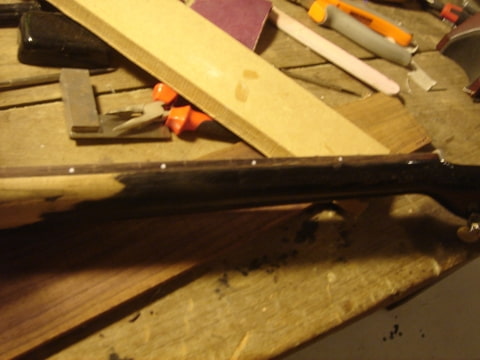
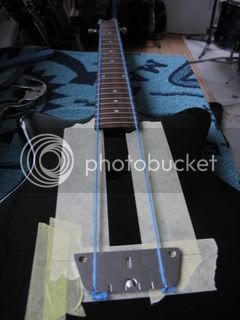
Then I found this neck;
B5-QNHQCWkKGrHqEOKjsEyLopRozzBMvuC6rUy_12.jpg

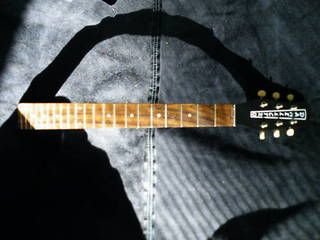
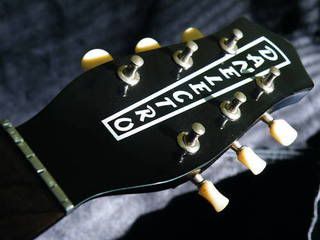
It's got the Coke bottle headstock that I like way more than the goofy new style heads.
B5-PSyB2kKGrHqUOKiUEyZBdWQFHBMvt-2dQGw_12.jpg

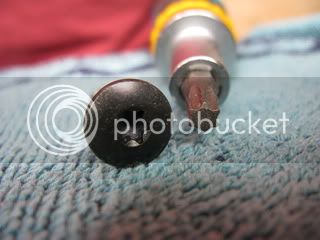
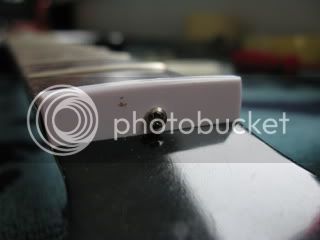
Some nice D-stamped tuners!
B5-Pp5BGkKGrHqEOKj0EyLWK55UBMvueY0K_12.jpg


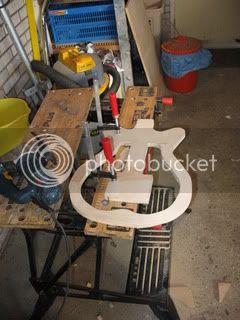
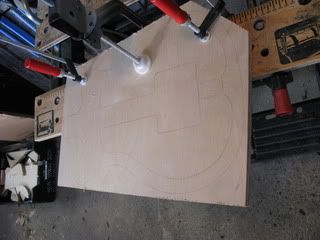
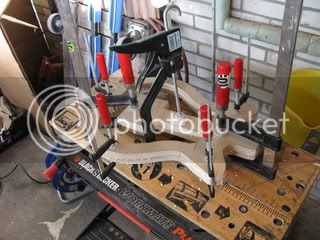
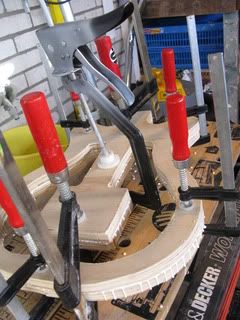
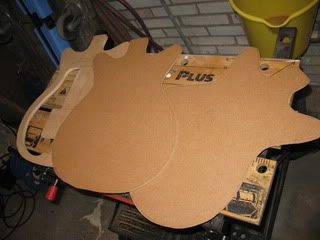
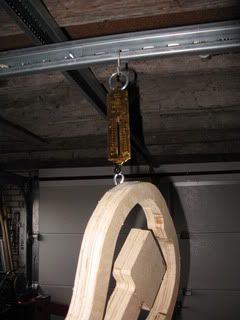
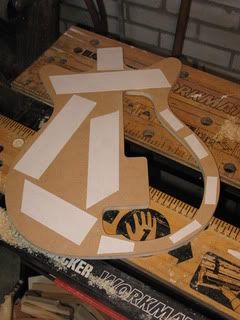
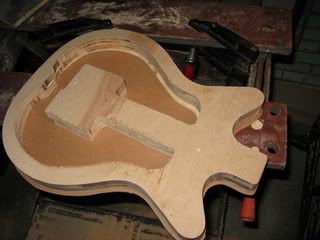
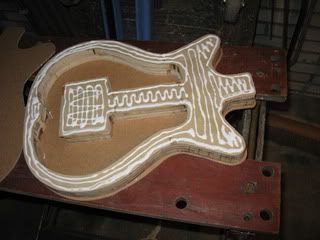
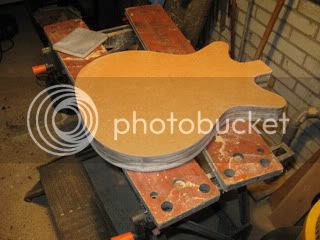
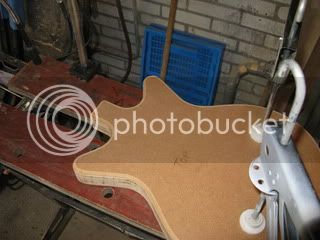
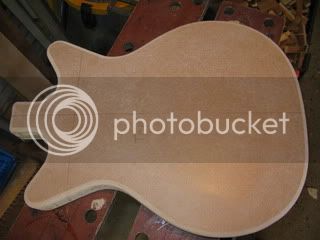
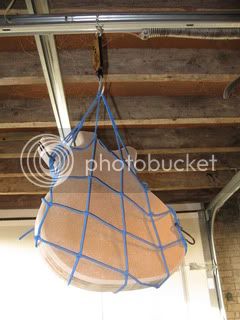
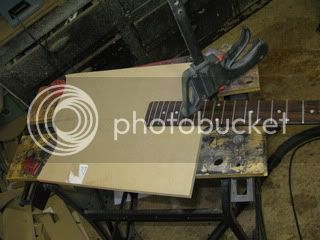
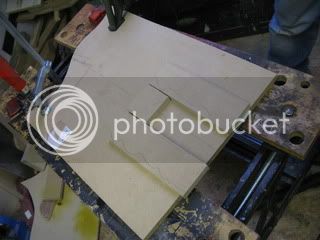
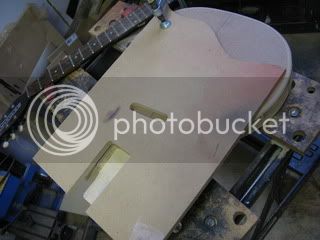
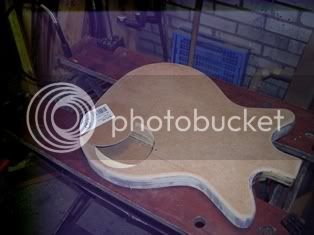
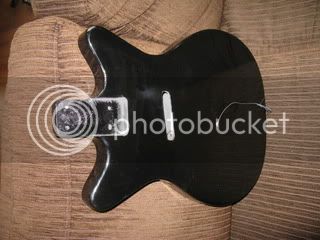
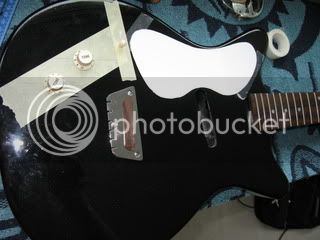
I figured a Dano wouldn't be real hard to make, and since I won the auction for the neck, seller included some other nice Dano stuff too, why not give building one from (kinda half-way) scratch a go?
 
Oigun agreed a Dano wouldn't be hard to build, but he's busy with all sorts of other projects, so I'd have to do the body myself.
OK. Here goes;
Oigun was nice enough to copy one of his Danos to make a routing template for me, which helps a LOT!
Buildinga58DCDano019.jpg

There you have it. The GUN made template, a piece of 18mm plywood (birch! don't use the hardwood stuff Oi says, that'll get you in trouble when routing the second or third channel), a piece of 4mm MDF, which is basically the same as Masonite which is used on Danos. A bunch of clamps, box set of router bits, bottle of run-of-the-mill wood glue. All in all ?75/$100. I own a circular saw, a coping saw, a router, powerdrills, a B&D workbench or two, cleaned out the garage, let's get cracking!

Buildinga58DCDano020.jpg

Pencil traced the template on the 18mm plywood. You might have to lean in to see the lines, they're there for sure!
Buildinga58DCDano022.jpg

Rough cut the outlines with coping saw. I stayed away from the lines about a mm or two. Cut away as much as you can, remember to allow for room to manouvre the router base.

I need another skeleton cut to get to 36mm thickness
Buildinga58DCDano023.jpg

Drilled some holes to allow for easier turns with the coping saw.
Buildinga58DCDano024.jpg

Clean what you're working on regularly
Buildinga58DCDano025.jpg

Outlines are showing way better in this pic.
Buildinga58DCDano026.jpg

So that makes two. Now spread a nice bit of glue on one of the pieces, let that sit for a couple minutes.
Buildinga58DCDano027.jpg
And clamp the two together. Use every clamp you can get your hands on. Which in this case was 8 pieces.
Buildinga58DCDano028.jpg

Buildinga58DCDano029.jpg

Let that sit for at least 24 hrs.

While the glued skeleton was curing I cut the top and back from 4mm MDF. I forgot to mention that the reference guitar has a 44mm body, this is why I used 18mm plywood and 4mm MDF.
001.jpg

This was as far as I got before realising I am missing the specific router bit I need to copy the template onto the skeleton... No hardware store in the vicinity sells those so I'll have to go online and order one. Luckily my bud Oigun will lend me a bit for the time being. KUDOS!
 
The bit I needed
005.jpg

weighed the skeleton
001-1.jpg

comes in at about 1 kg
002.jpg


004.jpg

used double stick tape to secure the template to the skeleton, coz I'll be manouvring her about quite a bit I think

ALWAYS make sure your router bit isn't touching the wood whan you start the router... I got in a hurry...
007.jpg

**** thing nearly jumped out of my hands

took off the template, found I had used way too much of the double face stick tape

router won't go deep enough
010.jpg

so I had to flip the skeleton over and change bits, that did it though

I'm ready for my close up now Mr DeMille
011.jpg
 
Glued the skeleton
buildingadano58dc001.jpg


Be sure to rub that out and let it sit for a couple minutes
buildingadano58dc002.jpg


Then clamp the thing, check the top don't slide off, use pieces of scrap wood to prevent the clamps from indenting the top and back
buildingadano58dc004.jpg
 
@ felixcatus; Might sound like I know what I'm doing. Mostly it's thinking out loud, remembering what Oigun Sensei told me.

I made a couple booboos along the way.
1) I neglected cleaning the glue spills when joining the two 18mm skeletons
2) I neglected to clean the glue spills when glueing the top and back on the skeleton

Made for a couple dozen runs that made routing the top/back to size along the skeleton... hmmm... an interesting experience.
Body came out looking like it had goose bumps if that makes sense.
Wound up having to 'dremel' sand those off.

3) Neglected to check router depth between runs when rounding of the edges. For some reason the router bit slipped inside the lock and routing depth ended up being a fraction of a mm deeper the second sweep. Made for a 'nice' snipe (I think you call it) that had to be sanded down. By hand. Don't wanna ruin the edge by using a sander.

OK, that's enough for confession time.
Here's some pics.

routed to size
buildingadano58dc001-1.jpg


goose bumps
buildingadano58dc004-1.jpg


dremel sanding bumps and glue runs off
buildingadano58dc005.jpg


rounded off
buildingadano58dc007.jpg


centre lined
buildingadano58dc008.jpg


weighed
buildingadano58dc009.jpg


the net I used will have added maybe 100 grams
buildingadano58dc010.jpg

comes out just under 2kg

Tomorrow I'm routing the neck pocket at Oigun's. I need the neck to create a tight fit. The tighter the better. Neck needed a bit of a touch up here and there.
So... updating tomorrow night.
 
It?s the effort and trying to make something yourself that?s ?good work?. Besides no matter what the product is, not many people get it right the first time. :wink:
I?m sure Oigun also learnt the craft from someone, remembering what he told him.
 
Don't you just cover the sides with vinyl tape anyway? I don't think Danelectro "luthiers" cared if it was bumpy underneath!!! :lol:
 
The sides on those old Danos were covered with strips of vinyl 'wall paper'. And sure I'm gonna do so, but the bumps made for a freaky top... check the goose bumps pic. I'm sure you agree that wouldn't look right.
 
Today I attended a Masterclass at Oigun Sensei's workshop. He showed me how to make a template for a neckpocket and we routed both that and the pickup cavity.

prepared a piece of MDF, drew a centerline to act as a guide
clamped the neck
neckpocketpupcavityoigundano58dc001.jpg


double stick a piece of MDF on three sides of the neck, squeeze 'em in!
neckpocketpupcavityoigundano58dc002.jpg


routed out the pocket template, made a tight fit!
neckpocketpupcavityoigundano58dc003.jpg


took some doing to place the pup cavity in the template
neckpocketpupcavityoigundano58dc004.jpg


routed everything
58dcbody001.jpg


Next step is routing for control cavity and making a cavity plate.
Tomorrow?
 
I failed to take a piccy with the neck in the body. That was a sight! Starting to look like a guitar now.

Build fever; it's just like Oigun said; Once you get it, you got it.
And I got it good.
When I told him I wanted to reshape the headstock on this cheapo neck to make another guitar with Oi gave me a maple neck to practice shaping on.

necks002.jpg


The rosewood is the cheapo from a Jack&Danny guitar, the maple is the GUN neck.
Way cool huh?
It's a baritone neck, fretslots and nut have been done, fingerboard has been profiled, now it's up to me to shape the back profile.
That'll be another thread, maybe.

Oigun is doing some work on the Dano neck for me. As if it weren't enough to 'lefty it up' a bit, he's gone ahead and done a complete 'leftification'!
This is from the Mosriteforum;
oigun said:
Just leftyfied the neck:
Drilled away the sidedots:
Foto-KEUEE8K7.jpg

And made some rosewood "pills " with a little brass pipe.
Foto-WLHZ4MUI.jpg

Glued in the holes:
Foto-OPAQL4KJ.jpg

Almost invisible:
Foto-TG4CXQ7Y.jpg

Voil? ready for a refinish:
Foto-LEF4EE7J.jpg

(sorry my camera sucks!!)
 
I got the body and neck back from Oigun a couple days ago when he finished painting. Took him some time, but he got it just right, also he had good reason to make me wait a bit, with finishing his AwardWinningHollowbody. What a thing of beauty that is.

It's already got fingerprints all over it, coz I had to fondle it on the way home...

dano021.jpg


So I bolted on the neck

dano029.jpg


using these bad boys, T25 bit... :shock:

dano030.jpg


layed out the bridge

dano034.jpg


never done a nut before so I thought I'd start with a plastic one

dano042.jpg


layed out knobs and pg

dano036.jpg


Did some soldering for which I can't find the pics, did some panicking when I thought I had drilled a hole in the wrong place, did a lot of calming down when I realized I hadn't and did some stringing up and test playing.
Nut needs working on, but I figure I'll do what Oi suggested and don't muck around with a plastic nut if I'm gonna replace it with an aluminum one in the end. Make yourself an aluminum from the getgo! Hai Sensei...

Still needs doing is the pickguard for which the pdf I got from TDPRI-member mgdesigns is a perfect drop in solution. Thanks again for that. I ordered some funky looking wallpaper to use on the sides and under the clear perspex pg. Purists won't agree with the pattern I chose but I think it's just deeeeeeeeeeeelicious.
Also need to do a little experimenting with the 3 tone switch that's on the original, haven't gotten round to that. I did wire it up with the 1Meg pots and a cap I had lying around. Gotta say if this thing is gonna sound any better and brighter than with the cap I've got in it (from an old LP copy, so prob around .47?) I might just flip my everloving mind. I'll shoot and post a video today.
 
Back
Top